Sunday, 22 March 2015

How To- DIY Photo Frame

          So in today's blog I will share will you guys how I made this photo frame.


Here is a list of things that you will need-
-Cardboard
-Ruler
-Cutter
-Clear Plastic Sheet
-Newspaper
-Glue
-Paint
-Paint Brushes
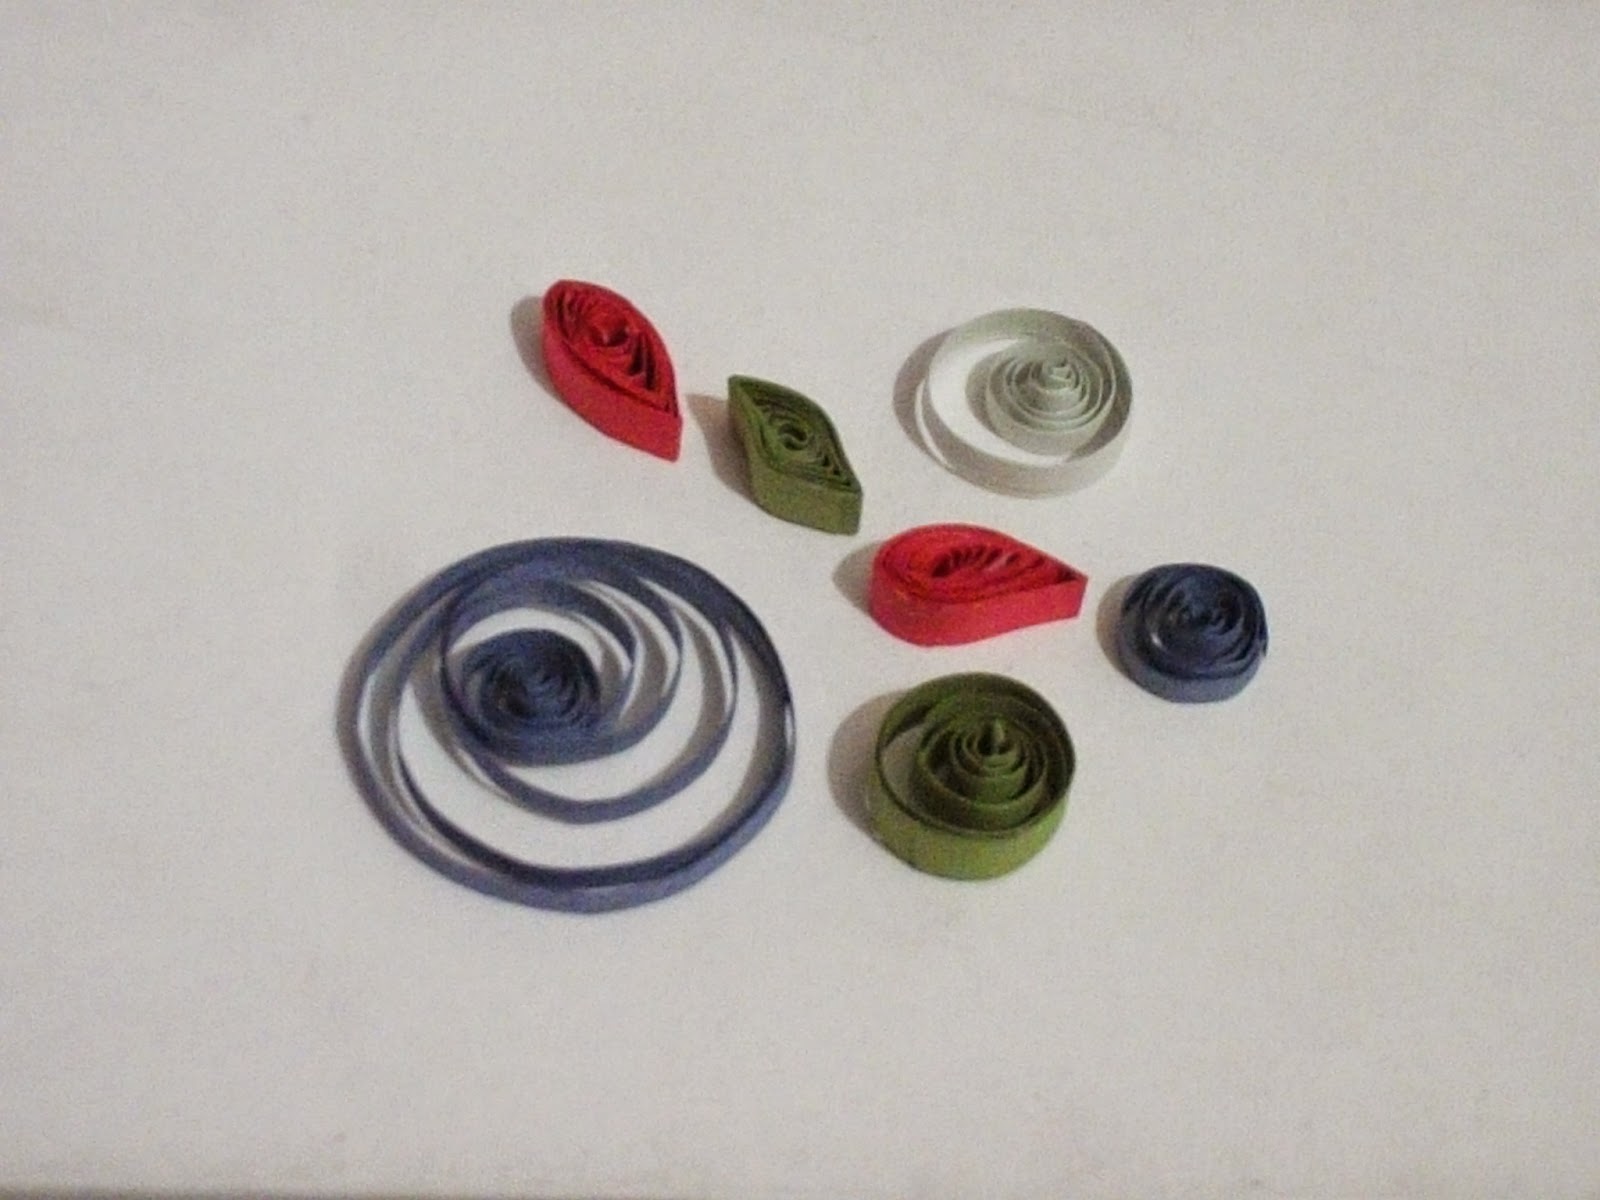
-Paper Quilled Shapes for decoration
-Water (optional)

Step 1 -
        Cut a piece of cardboard depending on the size of your photograph. This will be the base of the frame. I did mine 6" x 8" for my 4" x 6" photograph. I have left 1" extra on each side for the decoration.


Step 2 -
        Now cut a frame. 6x8 inches and 1 inch wide. This 1" will be the place for decoration.


Step 3-
        Paint the base white and let it dry.


Step 4 -
        In the mean while, cut a piece of the clear plastic sheet and stick it on the backside of the frame. This sheet will protect the photograph from dust and dirt.


Step 5 -
        Now double fold a newspaper and stick it on the back of the fame on three sides, leaving  the top side. This is from where we will slide our photograph inside the frame.


Step 6 -
        Now stick the frame on the base. We now have a basic structure ready.


Step 7 -
         Mix glue and water in 2:1 proportion. Now stick small pieces of paper with this mixture on the photo frame (avoiding the clear plastic sheet). To stick the pieces, apply the mixture of glue and water on the piece of paper with a brush and then stick the piece on the frame. This will make the frame strong and the surface smoother. To avoid the cardboard from getting soggy and rising stick the piece of paper in such a way that half of it is on the front and half behind. This will also hide all the joints and make your frame look like one piece without any joints.
(Things can get very messy in this step & so it is completely optional. But I do it because it makes the frame strong and smooth)


Step 8 -
        Now cut another piece of cardboard. I cut it from the piece that remained after cutting the frame. Cut a slit 1 inch from the top and stick this portion on the back of the frame. This will be the stand of our frame.


Step 9-
        Paint and decorate. I used electric blue colour and paper quilled shapes for the decoration.


Step 10 -
        Slide in your photograph, and you are done!!


To see how I did the basic paper quilling shapes you can read my blog on How to- 'basic paper quilling shapes' right here- http://tanvidiwane10.blogspot.in/2015/03/how-to-basic-paper-quilling-shapes.html

So this is how I made this photo frame. I hope you try it out. Don't forget to share your pictures if you do :-D

Thursday, 12 March 2015

How To- Basic Paper Quilling Shapes

        There are a few basic shapes of paper quilling. Most of them used to make flowers and leaves. Others are a little advanced. In today's blog I will share with you guys how to- a few basic shapes of paper quilling. Nothing special just the way I do it.


You will need-
-Paper quilling strips
-Quilling needle
-Glue
-Toothpick (optional) to apply glue, if you don't want to get your fingers sticky.

1- Tight Coil
     First and the very basic shape is a tight coil. For this shape simply start wrapping the strip on the needle. When you reach the end, stick the end and remove the strip from the needle. Easy, right?

2- Loose Coil.
     This is a bit modified version of the tight coil and this is the shape which is used to make all the other basic shapes. A loose coil is same as the tight coil, only instead of sticking the end, remove the coil from the needle. Release the coil and let it loosen up a bit. Then once the coil loosens stick the end. (If you hold the coil on the needle for a few seconds the coil will stay a bit tight and if you release it immediately it will loosen up more)

3- Triangle
     This is the easiest shape after the loose coil. Pinch the loose coil using both your hands from two sides. Now form a shape of a triangle with your fingers while pinching the coil and adjust the coil accordingly so that it forms a triangle.

4- Leaf
     Pinch the loose coil from one side. Done!! It will form a shape of a leaf.

5- Eye/Petal
     Make a loose coil. It is like a leaf only pinch two opposite sides instead of one. Pinch the circle with both your thumbs and index fingers of both hands. Don't press too tight, to form a shape of an eye. And if you pinch the sides a bit tight with your nails it will form a petal.


6- Petal (Type 2)
     Make a petal shape and pinch both sides in the opposite directions. One going upwards and the other downwards.

7- Square
     For this shape, pinch like the eye shape. Once the eye shape is formed it will be horizontal. Now make vertical and pinch again. It will form a rough square. Now just use your fingers to form a proper square.

8- D Shape
     Make a loose coil. Keep your thumbs flat and pull the coil with your index fingers towards your thumbs. It will form a D shape.

9- Cresent
     Make a D shape and press the flat side on the quilling needle to form a cresent shape.

10- Bell/Hat
       Once you have formed a loose coil, pinch only the outer layer of coil with your thumbs and index fingers of both hands and at the same time push the coil with your index fingers. It will take a shape of a bell. If you pinch the outer layer a bit more, it will look like a hat.