There are a few basic shapes of paper quilling. Most of them used to make flowers and leaves. Others are a little advanced. In today's blog I will share with you guys how to- a few basic shapes of paper quilling. Nothing special just the way I do it.
You will need-
-Paper quilling strips
-Quilling needle
-Glue
-Toothpick (optional) to apply glue, if you don't want to get your fingers sticky.
-Paper quilling strips
-Quilling needle
-Glue
-Toothpick (optional) to apply glue, if you don't want to get your fingers sticky.

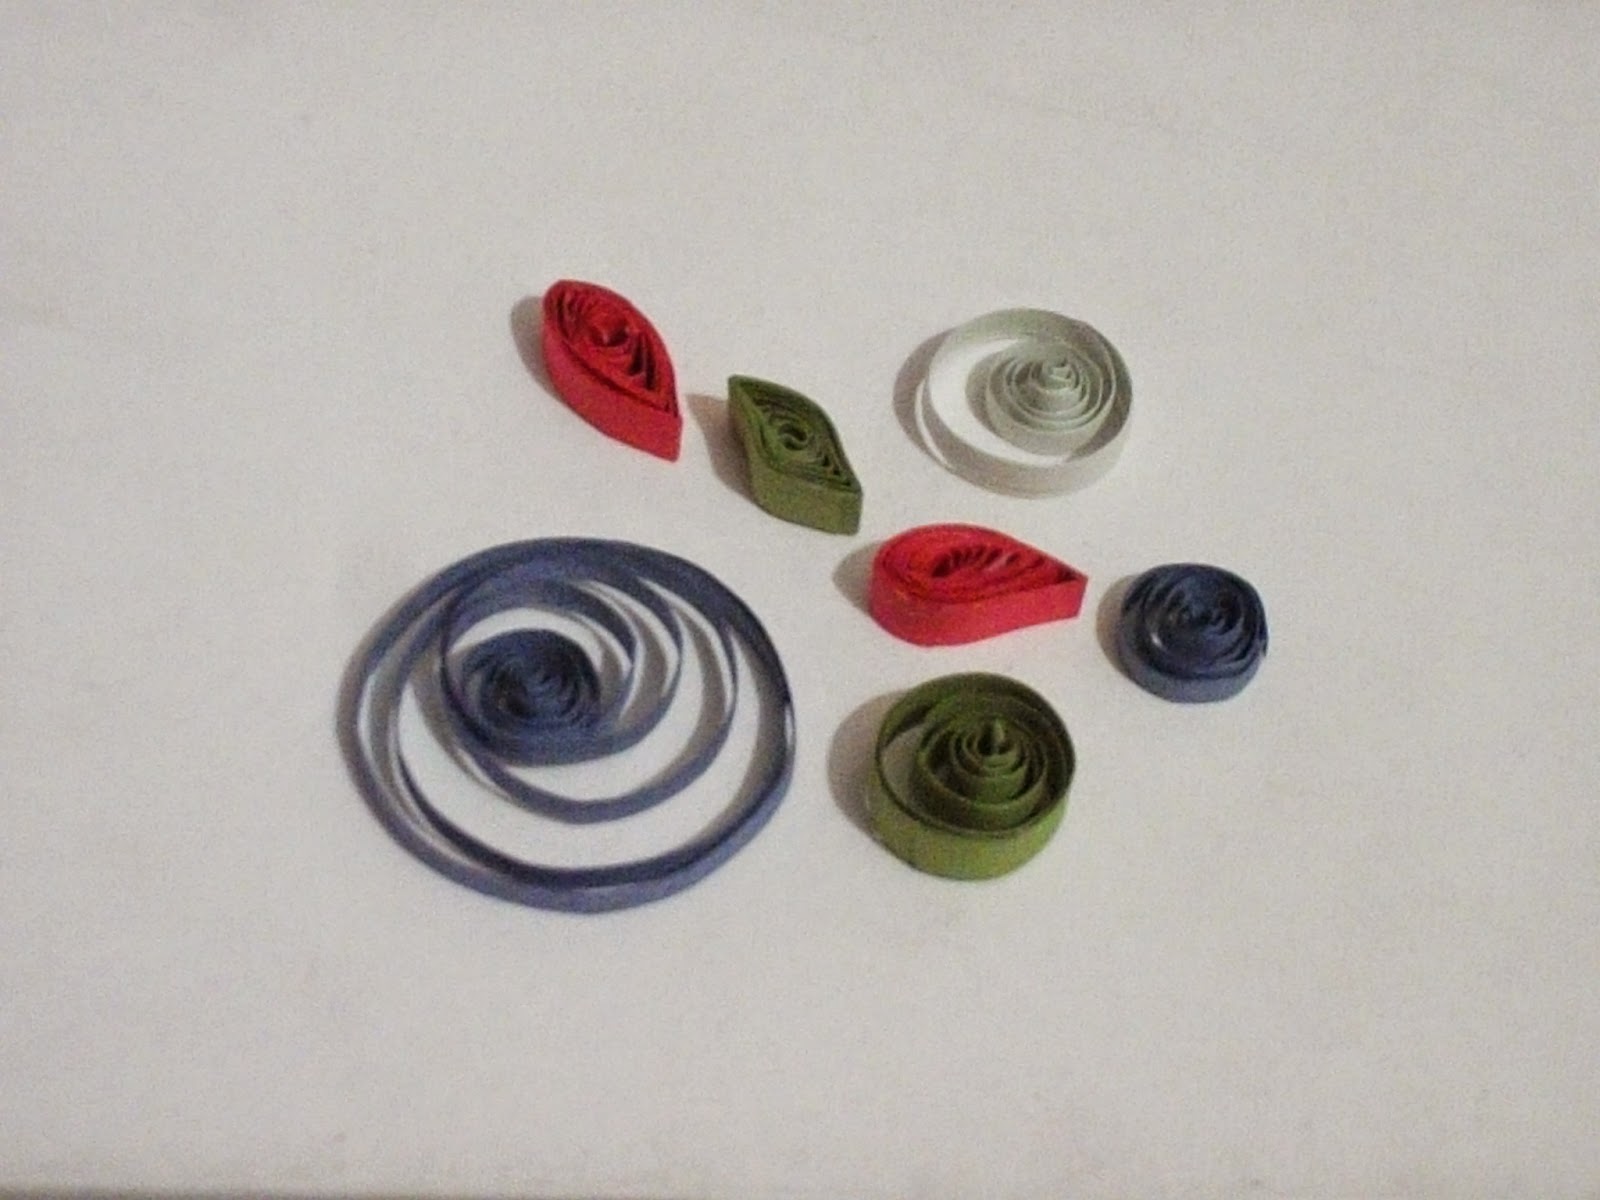
1- Tight Coil
First and the very basic shape is a tight coil. For this shape simply start wrapping the strip on the needle. When you reach the end, stick the end and remove the strip from the needle. Easy, right?
First and the very basic shape is a tight coil. For this shape simply start wrapping the strip on the needle. When you reach the end, stick the end and remove the strip from the needle. Easy, right?

2- Loose Coil.
This is a bit modified version of the tight coil and this is the shape which is used to make all the other basic shapes. A loose coil is same as the tight coil, only instead of sticking the end, remove the coil from the needle. Release the coil and let it loosen up a bit. Then once the coil loosens stick the end. (If you hold the coil on the needle for a few seconds the coil will stay a bit tight and if you release it immediately it will loosen up more)
This is a bit modified version of the tight coil and this is the shape which is used to make all the other basic shapes. A loose coil is same as the tight coil, only instead of sticking the end, remove the coil from the needle. Release the coil and let it loosen up a bit. Then once the coil loosens stick the end. (If you hold the coil on the needle for a few seconds the coil will stay a bit tight and if you release it immediately it will loosen up more)

3- Triangle
This is the easiest shape after
the loose coil. Pinch the loose coil using both your hands from two
sides. Now form a shape of a triangle with your fingers while pinching the coil and adjust
the coil accordingly so that it forms a triangle.

4- Leaf
Pinch the loose coil from one side. Done!! It will
form a shape of a leaf.

5- Eye/Petal
Make a loose coil. It is like a leaf only pinch two opposite sides instead of one. Pinch the circle with both your thumbs and index fingers of both hands. Don't press too tight, to form a shape of an eye. And if you pinch the sides a bit tight with your nails it will form a petal.

Make a loose coil. It is like a leaf only pinch two opposite sides instead of one. Pinch the circle with both your thumbs and index fingers of both hands. Don't press too tight, to form a shape of an eye. And if you pinch the sides a bit tight with your nails it will form a petal.
6- Petal (Type 2)
Make a petal shape and pinch both sides in the opposite directions. One going upwards and the other downwards.

7- Square
For this shape, pinch like the
eye shape. Once the eye shape is formed it will be horizontal. Now make
vertical and pinch again. It will form a rough square. Now just use your
fingers to form a proper square.

8- D Shape
Make a loose coil. Keep your thumbs flat and pull the coil with your index fingers towards your thumbs. It will form a D shape.

Make a D shape and press the flat side on the quilling needle to form a cresent shape.

10- Bell/Hat
Once you have formed a loose
coil, pinch only the outer layer of coil with your thumbs and index
fingers of both hands and at the same time push the coil with your index
fingers. It will take a shape of a bell. If you pinch the outer layer a
bit more, it will look like a hat.

No comments:
Post a Comment